Level 4 簡易お絵描きソフト
作成目的
object_Cを用いてとりあえずプログラムを動かしてみたかったため、お絵描きソフトを作成することにした。
アプリケーションの概要
作成、実行環境
- Mac OS X 10.4 Tiger
- Xcode 2.0
- 言語:Object-C
これらは以下からダウンロードできる。
プロジェクト一式
PaintView.tgz
PaintView.m
アプリケーション
PaintViewbin.tgz
プログラムの説明
ウインドウやボタン等をInterface Builderで作成した。PaintView.mの説明
//PaintViewの初期化メソッド
- (id)initWithFrame:(NSRect)rect
{
    [super initWithFrame:rect];
    bufferImage=[[NSImage alloc] initWithSize:rect.size];
    return self;
}
PaintViewを初期化する。スーパークラスを初期化し、rect.sizeでPaintViewの大きさを得て、このサイズでNSImageのインスタンス、bufferImageを作成する
//bufferImageを解放する
- (void)dealloc
{
	[bufferImage release];
	[super dealloc];
}
ビューが解放されたときにbufferImageを解放する
   //マウスボタンが押されたときに呼ばれるメソッド
- (void)mouseDown:(NSEvent *)theEvent
   {
    NSPoint mouseLocation = [self convertPoint:[theEvent locationInWindow] fromView:nil];

    myPath=[[NSBezierPath alloc] init];
    [myPath setLineWidth:[widthSlider floatValue]];
    [myPath setLineCapStyle:NSRoundLineCapStyle];
    [myPath setLineJoinStyle:NSRoundLineJoinStyle];

    [myPath moveToPoint:mouseLocation];
}
マウスのボタンが押されたときに呼ばれ、NSPoint mouseLocation =...で座標を自分自身のビューの座標に修正して取得する。
NSBezierPathのインスタンスを作成し、パスの属性(線の幅、両端の形態、接続
形態)を設定する
パスの開始点を設定する
   //マウスがドラッグされているときに連続的に呼ばれるメソッド
- (void)mouseDragged:(NSEvent *)theEvent
{
    NSPoint mouseLocation = [self convertPoint:[theEvent locationInWindow] fromView:nil];

    [bufferImage lockFocus];

    [myPath lineToPoint:mouseLocation];
    [[colorWell color] set];
    [myPath stroke];

    [bufferImage unlockFocus];
    [self display];
}
マウスがドラッグされているときに呼ばれ、イベントが発生した座標を取得し、bufferImageにフォーカスを設定する。
パスに直線を引く座標を追加し、描画色をカラーウェルから取得して設定して
bufferImageに描画する。
bufferImageのフォーカスを解除し、ビューにコピーして表示する。
 //マウスボタンが押された後、押されていない状態に戻るときに呼ばれるメソッド
- (void)mouseUp:(NSEvent *)theEvent
{
    [myPath release];
}
NSBezierPathクラスのインスタンスmyPathを解放する
//bufferImageをコピーする
- (void)drawRect:(NSRect)rect
{
    [bufferImage compositeToPoint:NSZeroPoint operation:NSCompositeSourceOver];
}
bufferImageの内容をPaintViewにコピーする。コピーの方法はNSCompositeSourceOverを指定している。
 //シートを表示
- (IBAction)saveToFile:(id)sender
{
	NSData *data;

	NSSavePanel *savePanel = [NSSavePanel savePanel];
	int button;

    [savePanel setTitle:@"SimplePaint Save"];
    [savePanel setRequiredFileType:@"tiff"];

	button=[ savePanel runModalForDirectory:NSHomeDirectory()
			file : @"Pictures"
			];

	if(NSOKButton == button){
		NSString*path=[savePanel filename];
		data=[bufferImage TIFFRepresentation];
		[data writeToFile:path atomically:YES];
	}
}
シートを表示させファイル名と形式を決める。
 //ファイルにセーブする
- (void)didEndSaveSheet:(NSSavePanel *)savePanel
	returnCode:(int)returnCode contextInfo:(void *)contextInfo
{
    if (returnCode == NSOKButton) {
        NSString *filename=[savePanel filename];
        NSData *tiffData=[bufferImage TIFFRepresentation];
        [tiffData writeToFile:filename atomically:YES];
    }
}
シートを表示させ、TIFFRepresentationメソッドでTIFF形式のデータを作成する。このデータを指定されたファイル名で保存する。
//シートを表示
- (IBAction)openFile:(id)sender
{
	NSOpenPanel *openPanel = [NSOpenPanel openPanel];
	int button;

	[openPanel setTitle:@"SimplePaint Open"];
	[openPanel setRequiredFileType:@"tiff"];

	button=[ openPanel runModalForDirectory:NSHomeDirectory()
			file : @"Pictures"
			];
	if(NSOKButton == button){
		NSString *path=[openPanel filename];
		bufferImage=[[NSImage alloc] initWithContentsOfFile:path];
	    [self display];
	}
ファイルを開くシートを表示し、tiff形式のファイルを選択すると画像ファイルを読み込む。
//ファイルを開く
- (void)didEndOpenSheet:(NSOpenPanel *)openPanel
	returnCode:(int)returnCode contextInfo:(void *)contextInfo
{
    if (returnCode == NSOKButton) {
        NSString *filename=[openPanel filename];
        [bufferImage release];
        bufferImage=[[NSImage alloc] initWithContentsOfFile:filename];
        [bufferImage setSize:[self frame].size];
        [bufferImage setScalesWhenResized:YES];
    }
}
これまで使用していたbufferImageを解放し、新しいbufferImageを作成しfailmameで示されるTIFFファイルを読み込んで初期化する。
イメージのサイズをビューと同じ大きさにあわせ、オリジナルのTIFF画像の内部データの
サイズも設定する
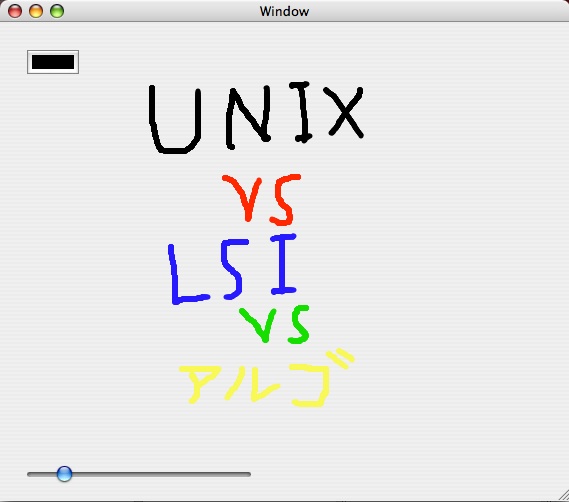
実行結果
今後の課題
今回は簡易お絵描きソフトだったので色と、太さを選ぶボタンのみを作ったが もっとボタンを増やし、多角形や円を書いたりするようにしたい。参考文献
- はじめてのMac OSX プログラミング "中村正弘"著
- Cocoaはやっぱり!
もどる